Today, we want to answer a common question: How can I change the product tab in WooCommerce?
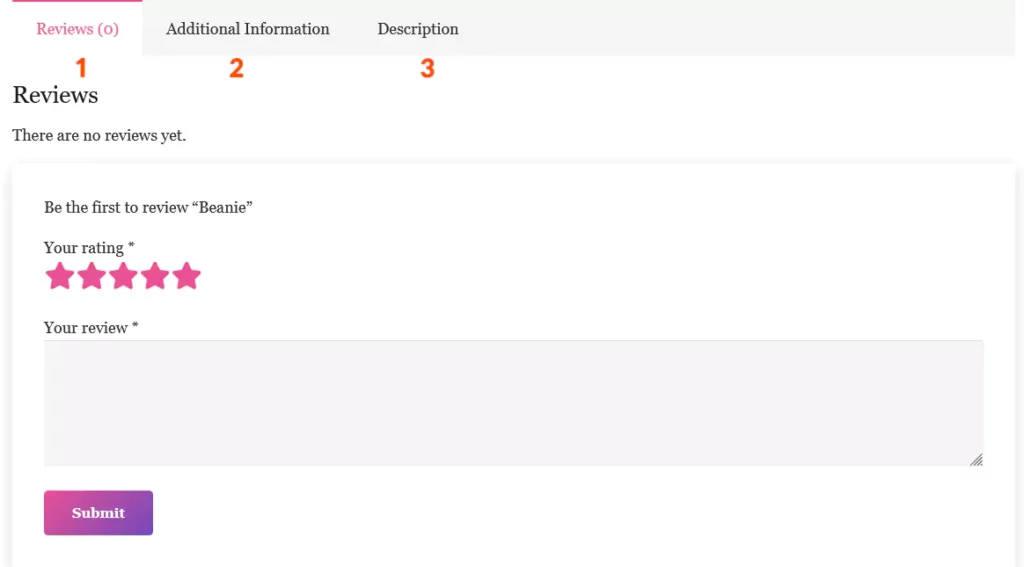
First of all, we should mention almost all WordPress e-commerce themes support 3 tabs on their single product page. (In some themes, you can customize tabs). By default, the description tab is the first one that is shown to the user. But what if you want to change the priority? Imagine you need to show the users “Specifications “or “Additional Info”?

Here are two ways we want to train you to change this. We offer solutions for both beginners and expert users. As usual, some plugins make the procedure easy, while expert users can use coding.
How to Change WooCommerce default product tab by plugin
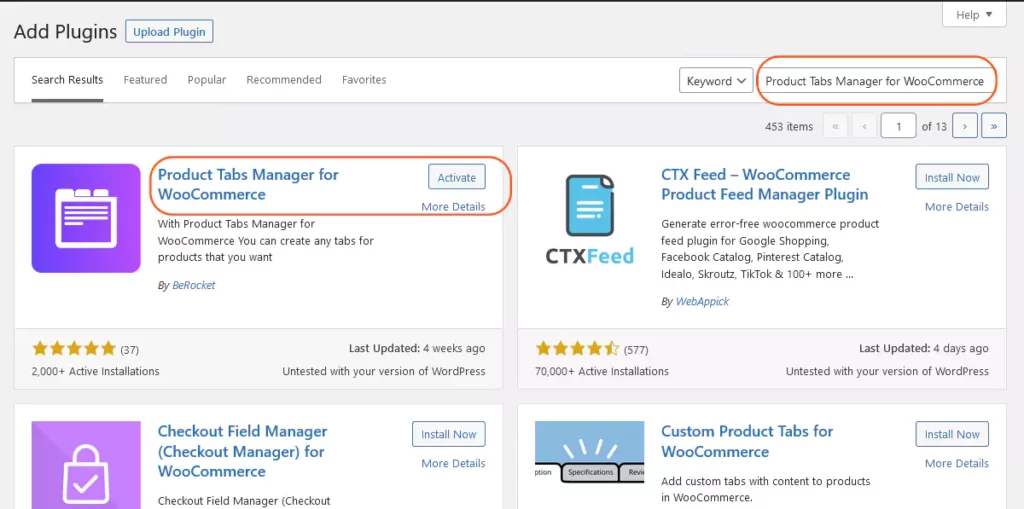
You can change the active tab in a single product page in WooCommerce. Just follow these steps:
1. Click on the plugin parts.
2. Search “Product Tabs Manager for WooCommerce”
3. Install Now and Activate.
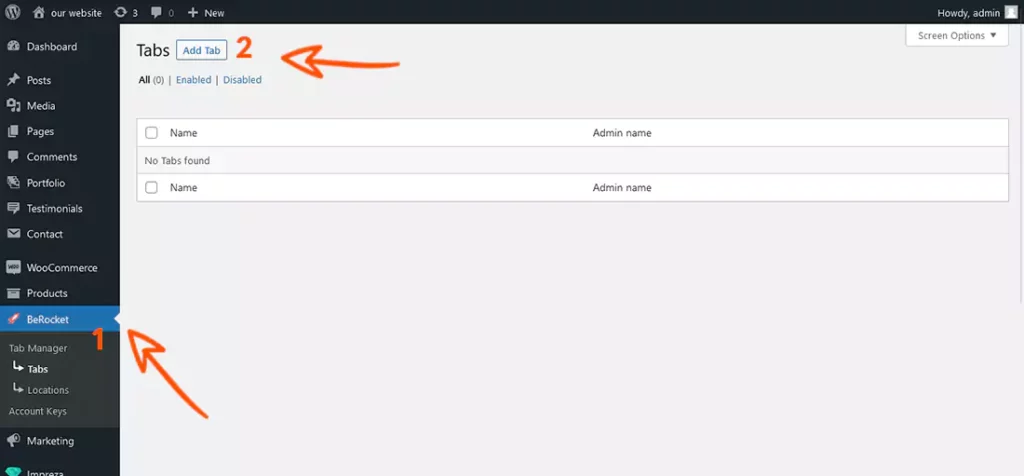
When it is finished, An option called BeRocket will be added to your WordPress dashboard. From this part, you can enter “locations” and click on “Add Location.”
As you can see, the plugin is showing your product page tabs, and you can change the priority.
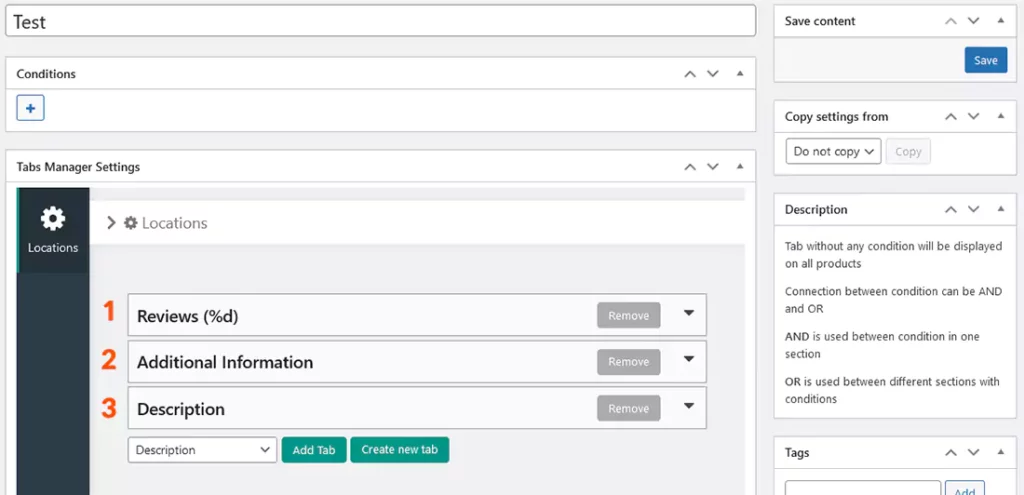
First, choose a title, then easily change it in a way you wish by drag & drop. Then save! And that’s all. Finished.
Add Extra product tabs for WooCommerce
By using the “Product Tabs Manager for WooCommerce” plugin, you can add extra tabs to the product page. To do so, you can use “BeRocket”. Here are the steps:
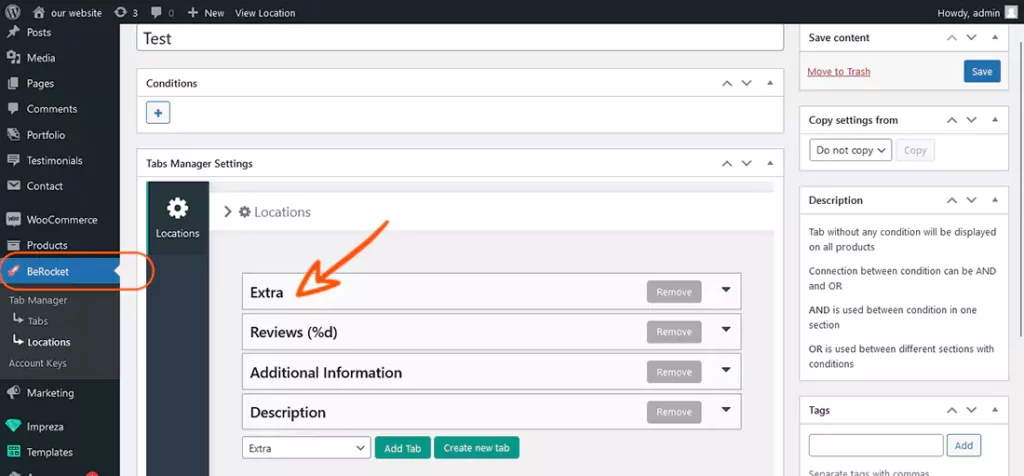
- Click on add tabs.
- Fill in the tab title and content as you desire, and then save the item.
- Check “Locatios” and edit the item or add a new one.
- Go to “Tabs Manager Settings” and add the tab you have added.
- Priority can also be changed easily. (By drag & drop)
- Finally, save the items.
And now here is the product page:
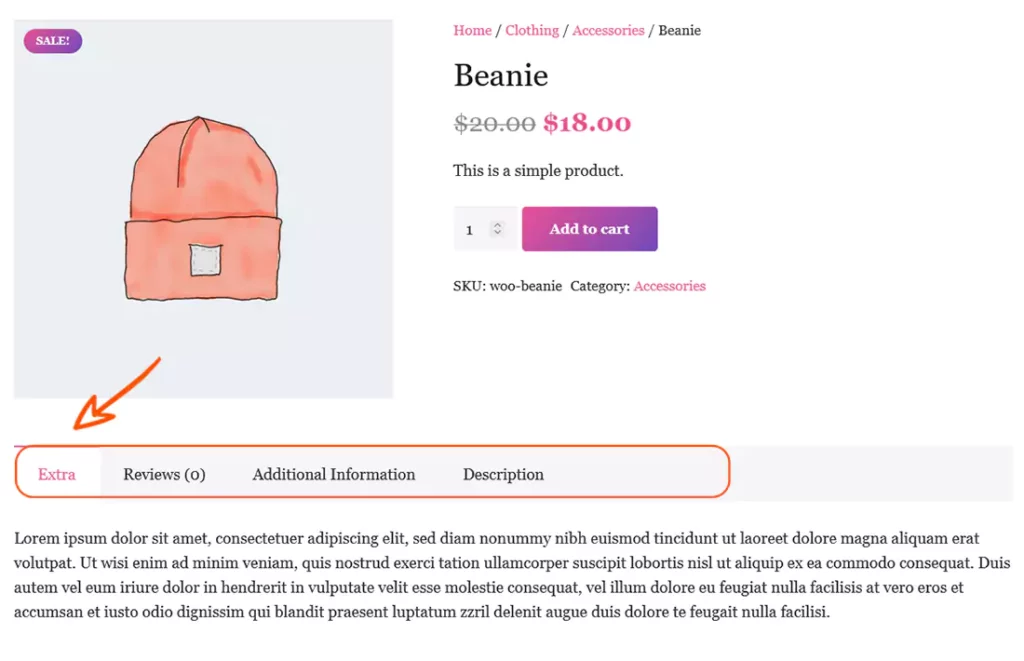
Another feature that this plugin provides you with is the conditional part. So, when does that come in handy?
For example, suppose you plan to put an extra tab for the products that are on sale to provide additional information.
You don’t need to show all the information on the same tab. To do so, you can add an item from “location,” and then you can add your conditions. You can add multiple conditions by using the + button.
Conditions are presented in two ways: using “AND” and “OR”.
What is the difference?
And condition: it is true if both conditions are right.
Or condition: it is true if only one of the conditions is right.
Change the WooCommerce product tab by code
When it comes to changing the source code, wpexpelor insists on one important thing! First, make a backup of your site. Copy this code to your functions.php WordPress theme.
Note: it is highly recommended to implement changes on the child version of your WordPress theme. In this way, by updating the source, changes wouldn’t be lost.
add_filter( 'woocommerce_product_tabs', 'custom_product_tabs' );

function custom_product_tabs( $tabs ) {

    // Modify the tab order and titles. Code from wpvalid.com

    $tabs['description']['priority'] = 20;

    $tabs['additional_information']['priority'] = 10;

    $tabs['reviews']['priority'] = 30;

    return $tabs;

}
In this code, the tab’s priority is determined by numbers. The default tab (the first one) is determined by 10, the second is shown by 20, and the last one is 30.
