If you want to know “How to turn on xml-rpc in wordpress?” I’m going to clarify the answer in this article, but before we dive into this, I’m going to answer one important question. What is XML-RPC? In very simple terms, XML is a way that computer programs communicate with each other. They send messages in a format called XML (a type of structured text) to ask each other to do certain things. Stay with wpexpelor!
XML-RPC in WordPress
“xmlrpc.php” is one of the important files in the WordPress content management system.
As we mentioned, XML-RPC allows to provide a way to communicate remotely over the Internet.
WordPress developers created this feature based on HTTP protocol for the convenience of WordPress site administrators. This XML is used as an encryption mechanism.
So, what is the advantage of this feature for WordPress site administrators? “XML-RPC” makes it easy to interact with a WordPress site remotely.
For example, Publishing content remotely (without needing access to the WordPress admin panel) is simply possible by using this method.
Many mobile apps use “XML-RPC” to interact with WordPress. Users can manage and publish content using their cell phones.
Therefore, using XML-RPC will make it easy and convenient to manage your WordPress site. But How to enable XML-RPC? Keep reading!
How to turn on XML-RPC in wordpress?
The good news for those who plan to use this feature is that it is enabled by default on all WordPress websites. (unless you have disabled it yourself) and bad news! XML-RPC is enabled by default on your site! You may have been confused by hearing this.
Finally, is XML-RPC beneficial or not?
Among with all the advantages that XML-RPC provides to the admins of WordPress sites, it has a big disadvantage: Low level of security! So, should we finally use XML-RPC or not? The answer is to Try not to use this feature as much as possible. Security experts recommend that you disable this feature on your site to avoid brute-force attacks.
Using XML-RPC is dangerous for your site, and its limited capabilities aren’t worth it! I’m going to teach you how to disable XML-RPC in wordpress.
Disable XML-RPC wordpress with plugin
To disable XML-RPC using the plugin, follow the steps:
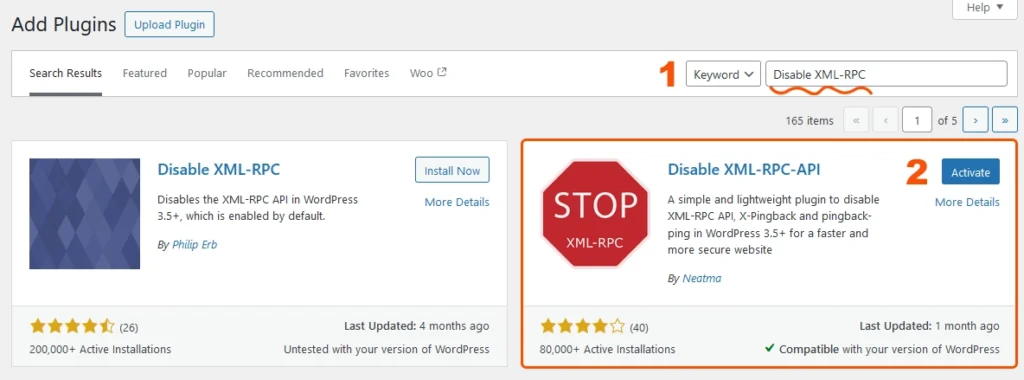
- From the wordpress dashboard, open the plugin section
- Search for “Disable XML-RPC” and install and activate the plugin.
- Congratulations! XML-RPC is successfully disabled.
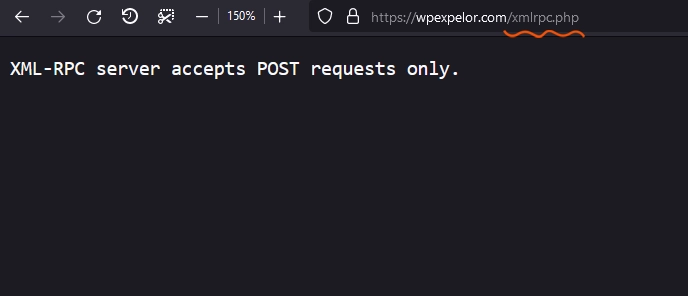
How do you make sure XML-RPC is disabled? Add xmlrpc.php to the end of your website address.
If you see an image like the one below, it means that XML-RPC is not yet disabled, and using another plugin might help you.
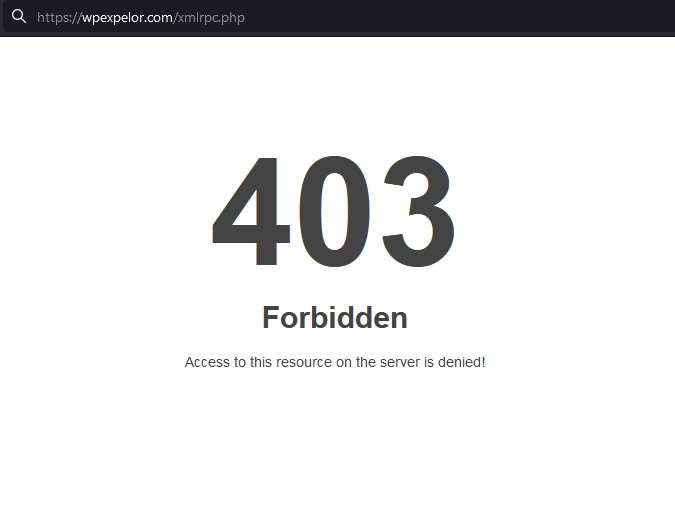
If you see a picture similar to the one below, it means that XML-RPC has been successfully disabled.
Disable XML-RPC WordPress without plugins
Note that Before making any changes to the website, make a backup.
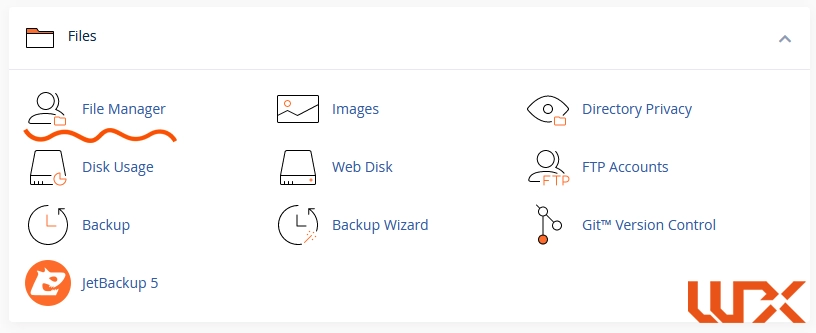
Enter your hosting management panel and go to the file manager.
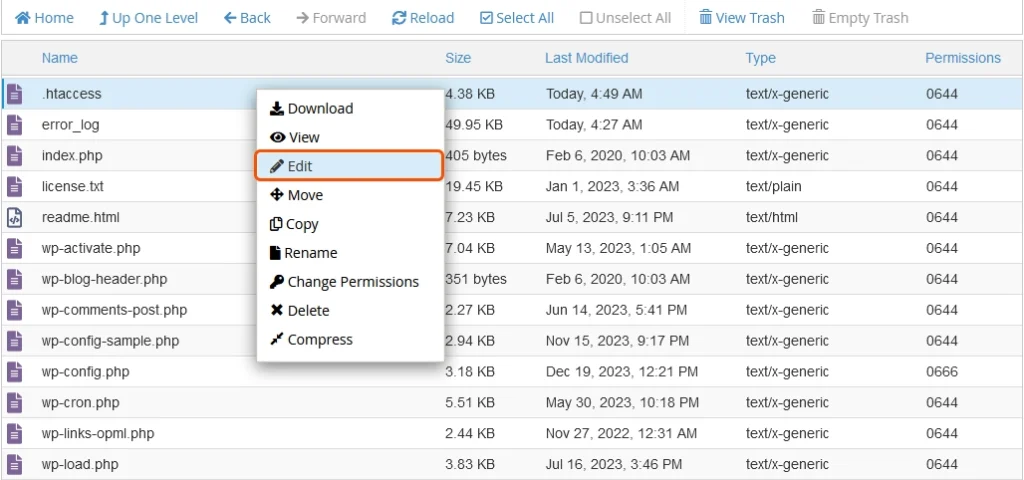
Look for the .htaccess file and edit it once you find it.
At the end of the file, put the following code and then save the .htaccess file.
# Block WordPress xmlrpc.php requests
<Files xmlrpc.php>
order deny,allow
 deny from all
</Files>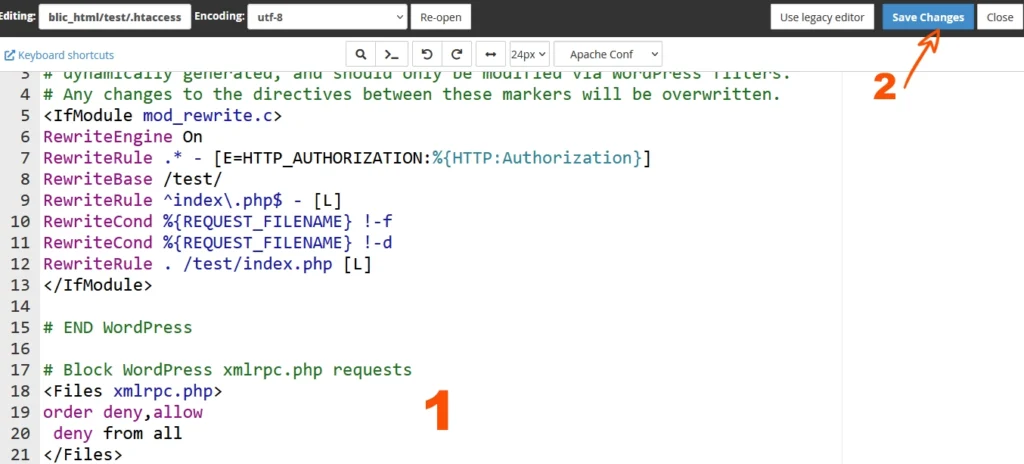
You could easily disable XML-RPC without any plugins.
